
Rounded corner panels and masks in SwiftUI
I’ve been working on my UI developer skills recently (and I’ve done a few other posts about this as well). If you look at any of the recent design trends on Dribbble or UPLabs, you will see plenty of rounded corners. SwiftUI makes it simple to create rounded corners on all the corners - just add .cornerRadius(radius) as a modifier to the view.
What happens when you only want a couple of corners rounded? For this, you need to dive into custom shapes and masks.
Let’s set up a view to experiment with:
struct ContentView: View {

    var body: some View {
        VStack(alignment: .leading) {
            HStack {
                Spacer()
                Text("Hello World!")
                    .font(.headline)
                    .foregroundColor(.white)
                Spacer()
            }
        }
        .frame(height: 300)
        .background(Color.blue)
        .mask(CustomShape(radius: 25))
    }
}
You probably saw this technique when doing the SwiftUI tutorial, but with a Circle to generate the circular image. A custom shape is just a struct conforming to the Shape protocol:
struct CustomShape: Shape {
    let radius: CGFloat

    func path(in rect: CGRect) -> Path {
        var path = Path()

        let start = CGPoint(x: rect.minX, y: rect.minY)

        // Do stuff here to draw the outline of the mask
        path.move(to: start)

        return path
    }
}
I’m passing in a radius here, but you can pass in any parameters you want for your situation. To generate the path, you need to move to the start point (which, in my case, is the top left corner of the containing rectangle) and then add lines to enclose the masked area. For a simple rectangle, for instance:
struct CustomShape: Shape {
    let radius: CGFloat

    func path(in rect: CGRect) -> Path {
        var path = Path()

        let tl = CGPoint(x: rect.minX, y: rect.minY)
        let tr = CGPoint(x: rect.maxX, y: rect.minY)
        let br = CGPoint(x: rect.maxX, y: rect.maxY)
        let bl = CGPoint(x: rect.minX, y: rect.maxY)

        // Do stuff here to draw the outline of the mask
        path.move(to: tl)
        path.addLine(to: tr)
        path.addLine(to: br)
        path.addLine(to: bl)
        path.addLine(to: tl)

        return path
    }
}
We could even do a funky “cut-the-corners” type view:
struct CustomShape: Shape {
    let radius: CGFloat

    func path(in rect: CGRect) -> Path {
        var path = Path()

        let tl = CGPoint(x: rect.minX, y: rect.minY)
        let tr = CGPoint(x: rect.maxX, y: rect.minY)
        let brs = CGPoint(x: rect.maxX, y: rect.maxY - radius)
        let bre = CGPoint(x: rect.maxX - radius, y: rect.maxY)
        let bls = CGPoint(x: rect.minX + radius, y: rect.maxY)
        let ble = CGPoint(x: rect.minX, y: rect.maxY - radius)

        // Do stuff here to draw the outline of the mask
        path.move(to: tl)
        path.addLine(to: tr)
        path.addLine(to: brs)
        path.addLine(to: bre)
        path.addLine(to: bls)
        path.addLine(to: ble)
        path.addLine(to: tl)

        return path
    }
}
Which will give you something like this:
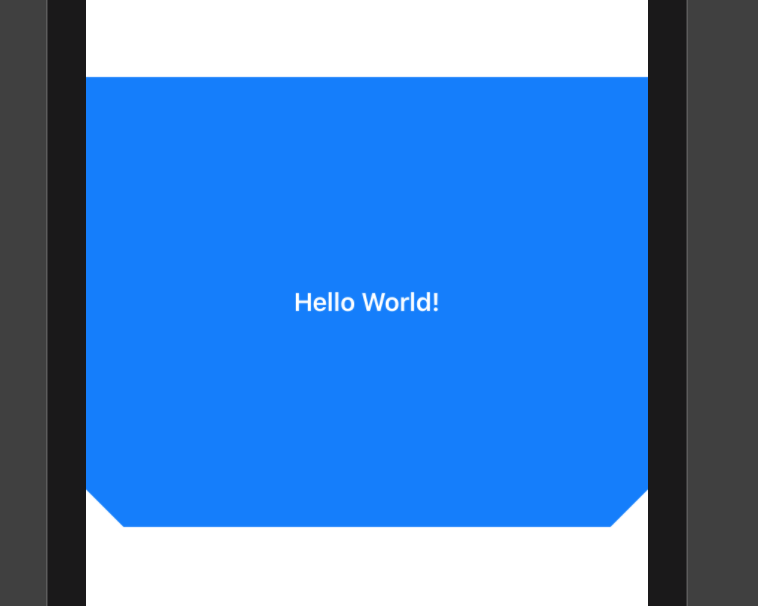
This is closer to what I want, but not rounded. To fix that, I need to add an arc. There are a bunch of methods in the Path object to do what I want, but I find the simplest to use is the addRelativeArc() method. This requires the center (which is offset from the bottom and in by the radius), the radius, the starting angle (which is relative to 3pm on a clock-face) and the angle to continue:
struct CustomShape: Shape {
    let radius: CGFloat

    func path(in rect: CGRect) -> Path {
        var path = Path()

        let tl = CGPoint(x: rect.minX, y: rect.minY)
        let tr = CGPoint(x: rect.maxX, y: rect.minY)
        let brs = CGPoint(x: rect.maxX, y: rect.maxY - radius)
        let brc = CGPoint(x: rect.maxX - radius, y: rect.maxY - radius)
        let bls = CGPoint(x: rect.minX + radius, y: rect.maxY)
        let blc = CGPoint(x: rect.minX + radius, y: rect.maxY - radius)

        path.move(to: tl)
        path.addLine(to: tr)
        path.addLine(to: brs)
        path.addRelativeArc(center: brc, radius: radius,
          startAngle: Angle.degrees(0), delta: Angle.degrees(90))
        path.addLine(to: bls)
        path.addRelativeArc(center: blc, radius: radius,
          startAngle: Angle.degrees(90), delta: Angle.degrees(90))

        return path
    }
}
I’m used to angles starting from the top of the circle, so finding the proper angles was a little bit of trial and error. This produces the following:

Now all I need to do is add a nice shadow, position it properly, and I’ve got a working mask for my project!
struct ContentView: View {
    var body: some View {
        VStack {
            VStack(alignment: .leading) {
                HStack {
                    Spacer()
                    Text("Hello World!")
                        .font(.headline)
                        .foregroundColor(.white)
                    Spacer()
                }
            }
            .frame(height: 300)
            .background(Color.blue)
            .mask(CustomShape(radius: 25))
            .shadow(color: .gray, radius: 5, x: 0, y: 5)
            .edgesIgnoringSafeArea(.top)

            Spacer()
        }
    }
}
This produces the following:
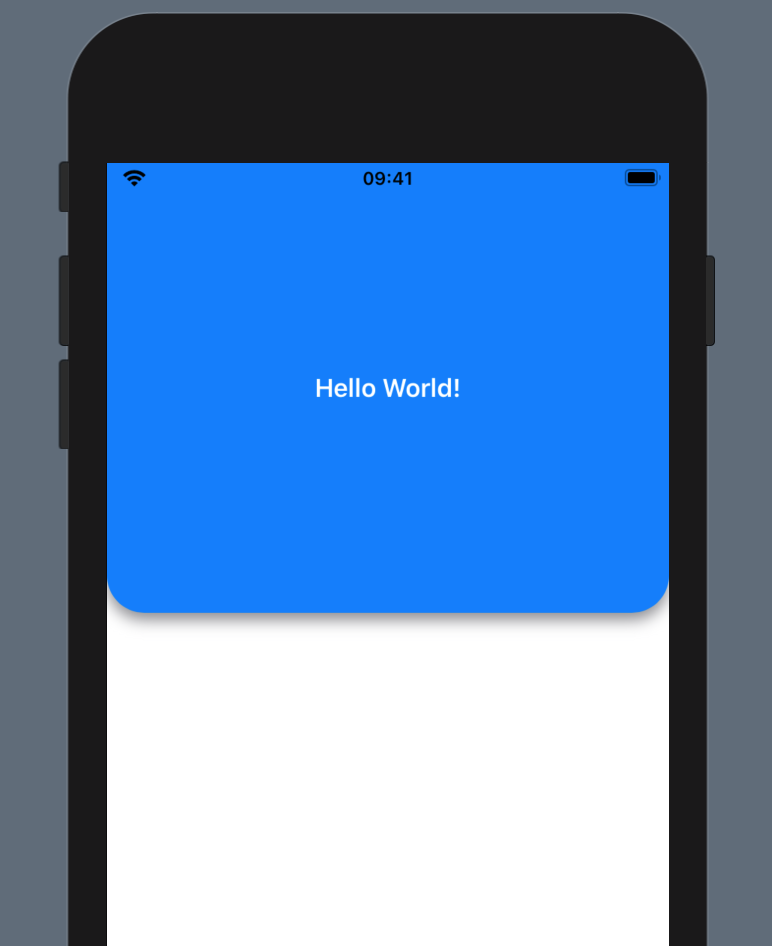
Admittedly, the newer iPhones all have rounded corners, so this is less of an issue. However, if you need or want to support more interesting paths, you can use the same mask mechanism with a custom shape. Also, don’t forget - not everyone is on the latest iPhone, so you shouldn’t assume that everyone has rounded corners on their displays.
Leave a comment