
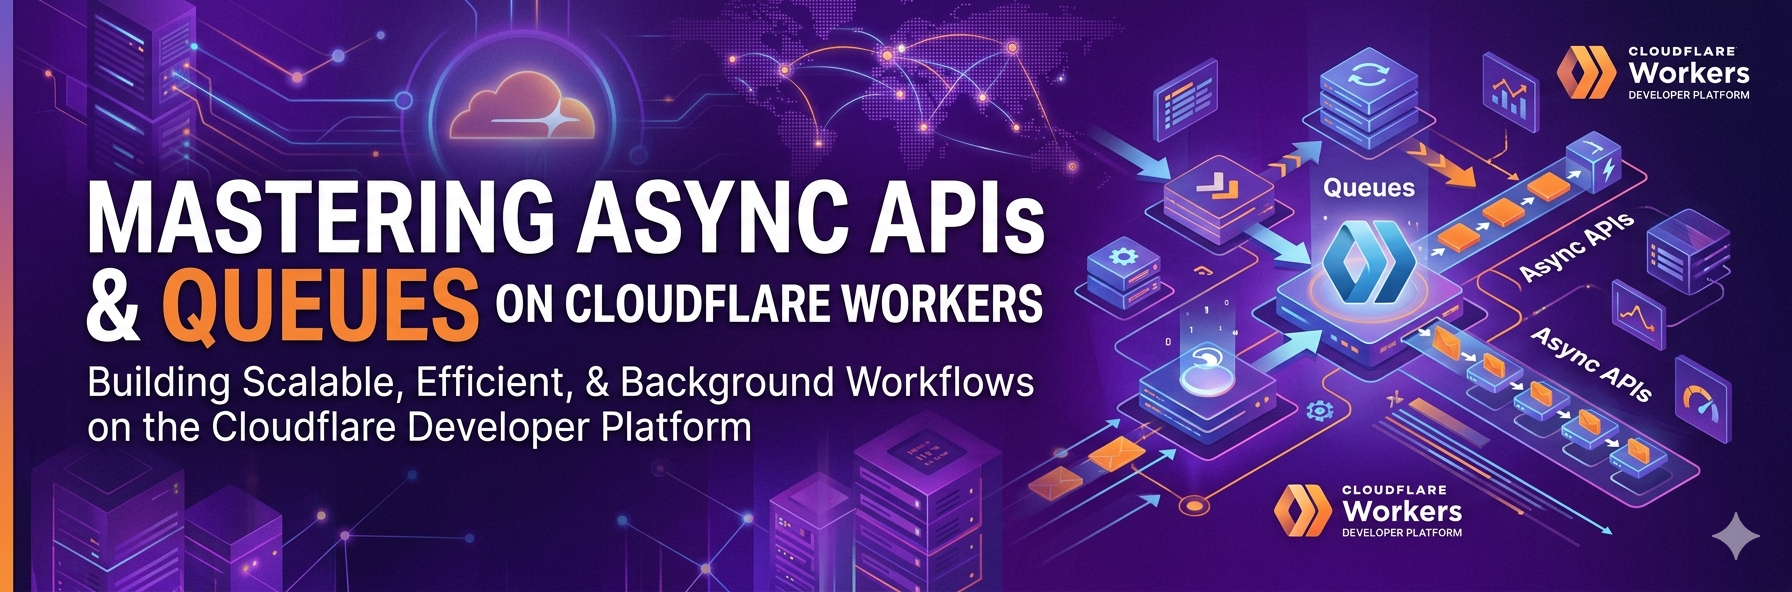
Async APIs with Cloudflare Workers and Queues
Continuing my journey into learning the Cloudflare Developer Platform, I decided to figure out how to use Queues today. While Workers are the central compute component of the platform, you need asynchronous processing for AI agents and complex workflows.
Queues allow you to offload heavy tasks so the main Worker doesn’t time out or hit memory limits. Beyond simple buffering, queues are a core concept in distributed systems and serverless design, allowing you to move from simple APIs to resilient architectures.
Async patterns in distributed systems
Queues enable resilient distributed systems through the use of async patterns. Here are four patterns from distributed systems design you should know:
The “Fan-Out” Pattern (parallel processing)
Imagine you are building a media pipeline. You upload a video and want to process the video in multiple ways - optimize the video into a lower resolution, transcribe the audio, moderate the content, and index the metadata for search. Each of these tasks is independently complex and CPU-intensive. The API would time out long before any of them complete, and a failure in one causes a cascade failure of the entire process.
Instead, you use queues to do all four processes in parallel - fanning out the video processing to multiple processes. This allows the video to appear in search results before the mobile-ready video is available, for instance. A failure in one part of the pipeline doesn’t cascade to the other parts.
Rate limiting & Throttling Pattern
When working with external APIs (like OpenAI, Stripe, or even legacy databases), you often have strict rate limits (such as “no more than 5 requests per second”). Serverless Workers scale almost infinitely and can easily overwhelm these third-party services. By utilizing a queue, you can scale these requests to only the rate allowed, ensuring you never get banned or throttled by the provider.
Durable Object Inbox
I looked at Durable Objects in my last article. Durable Objects are single-threaded. When you want to ensure the processing happens sequentially but don’t want to wait around for the answer, you set up a queue to line up tasks for the Durable Object. The queue acts as an inbox, ensuring the Durable Object processes state changes in a controlled, sequential manner without dropping requests during high-load periods.
Asynchronous APIs: Long-Polling & Webhook Ingest
Many external services (like GitHub or Shopify) send Webhooks. These services expect a 200 OK response within a few seconds. If your processing logic (for example, analyzing a 3D model file) takes over 30 seconds, the webhook will time out and the external service will mark it as a failure.
With a queue, you can set up a Webhook that does basic validation and accepts the payload, dropping the request into a queue. The Worker can then immediately return a 200 OK (or, more appropriately, 201 Created or 202 Accepted). A background worker pulls from the queue and does the heavy processing.
An Async API Example
To demonstrate this, I created a quick demo application. It allows you to upload a PNG image and grayscales the image for you. At an API level, it uses an async API. This sequence diagram describes how an asynchronous API works:
sequenceDiagram
    autonumber
    actor Client
    participant API as API Worker (Producer)
    participant Queue as Cloudflare Queue
    participant DB as State Store (D1/DO)
    participant BW as Background Worker (Consumer)
    participant R2 as R2 Bucket (Storage)

    Note over Client, API: Phase 1: Request Acceptance

    Client->>API: POST /v1/process-image (with image data)
    activate API
    API->>API: Generate unique 'job_id'
    API->>R2: Store original image
    API->>DB: Initialize job state (job_id, status="queued")
    API->>Queue: Push 'job_id' and image metadata
    API-->>Client: 202 Accepted (includes job_id, status_url)
    deactivate API

    Note over Client, Queue: Phase 2: Asynchronous Processing

    Queue->>BW: Trigger Consumer (delivers job_id)
    activate BW
    BW->>DB: Update state (status="processing")
    BW->>API: Fetch raw image (internal request or direct R2)
    BW->>BW: Perform Watermarking (heavy compute)
    BW->>R2: Upload processed image
    BW->>DB: Update state (status="complete", r2_url)
    BW-->>Queue: Acknowledge Message (remove from queue)
    deactivate BW

    Note over Client, DB: Phase 3: Status Polling

    par Attempt 1 (e.g., +5 seconds)
        Client->>API: GET /v1/status/{job_id}
        API->>DB: Lookup current state
        DB-->>API: (status="processing")
        API-->>Client: 200 OK (status="processing")
    end

    par Attempt N (e.g., +20 seconds)
        Client->>API: GET /v1/status/{job_id}
        API->>DB: Lookup current state
        DB-->>API: (status="complete", r2_url)
        API-->>Client: 200 OK (status="complete", resource_url=r2_url)
    end
Here are the bits to do it:
1. wrangler.jsonc
I added a binding to my wrangler.jsonc for the queue:
"queues": {
  "producers": [
    {
      "queue": "image-jobs",
      "binding": "JOB_QUEUE"
    }
  ],
  "consumers": [
    {
      "queue": "image-jobs",
      "max_batch_size": 1,
      "max_batch_timeout": 5,
      "max_retries": 3,
      "dead_letter_queue": "image-dlq"
    }
  ]
},
This is a basic queue definition - there is one producer and one consumer. Each job entry is handled individually (max_batch_size = 1). I chose max_batch_size = 1 to ensure that if one image transformation fals, it doesn’t force the retry of successful jobs in the same batch. Each batch will be retried 3 times if it fails, at which point it will be placed in a dead letter queue. You can then have a separate processor for the dead letter queue.
Aside from the queue definition, I also added a D1 database for storing job state and an R2 bucket for storing the uploaded file and the resulting transformed file.
2. POST API
The POST API accepts the image, uploads the image to R2, then creates the job. The job is a combination of a queue entry and a row in a D1 table. The D1 table is queried for job status, but the queue triggers the background process.
api.post("/upload", async (c) => {
  try {
    const body = await c.req.parseBody();
    const file = body.file;

    // --- Validation ---
    const err = validateJobRequest(file);
    if (err) {
      return c.json({ error: err }, 400);
    }

    // --- Store image in R2 ---
    const id = await storeImage(c.env.IMAGES_BUCKET, file);

    // --- Create background job ---
    await createJob(c.env.DB, id, file);
    await c.env.JOB_QUEUE.send({ jobId: id });

    // --- Return response from API ---
    return c.json({ jobId: id }, 201);

  } catch (err) {
    const message = err instanceof Error ? err.message : "Unknown error";
    log.error("Upload failed", { error: message });
    return c.json({ error: "Internal server error" }, 500);
  }
});
I’ve left out a whole set of details here by hiding them in functions, but the code is in the repository for you.
3. Handle the queue
Normally, you export the Hono app from your index.ts. When you have both an API and a queue handler, you need to export them separately:
export default {
  fetch: app.fetch,
  queue: handleQueue
} satisfies ExportedHandler<Env, JobMessage>;
In this snippet, app is my Hono app, and handleQueue is the queue handler, defined like this:
export async function handleQueue(batch: MessageBatch<JobMessage>, env: Env): Promise<void> {
  for (const message of batch.messages) {
    const { jobId } = message.body;
    try {
      await processJob(jobId, env);
      message.ack();
    } catch (err) {
      const errorMessage = err instanceof Error ? err.message : "Unknown error";
      log.error("Job processing failed", { jobId, error: errorMessage });
      await updateJobState(env.DB, jobId, "failed", {
        error: errorMessage
      });
      message.retry();
    }
  }
}
In my case, each “batch” is only one message. The batch size is defined in the wrangler.jsonc. The job processing is in the processJob() method. For my demo, I use fast-png to process the image, but I wait for 10 seconds each side of the processing so I can see state changes easily:
async function processJob(jobId: string, env: Env): Promise<void> {
  log.info("Job received", { jobId });

  // Step 1: deliberate delay so the user sees "pending" in the UI.
  await scheduler.wait(10_000);

  // Step 2: transition to in_progress.
  await updateJobState(env.DB, jobId, "in_progress");
  log.info("Job in progress", { jobId });

  // Step 3: deliberate delay so the user sees "in_progress".
  await scheduler.wait(10_000);

  // Step 4: actually process.
  const job = await getJob(env.DB, jobId);
  if (!job) {
    throw new Error(`Job ${jobId} not found`);
  }

  const original = await env.IMAGES_BUCKET.get(job.originalKey);
  if (!original) {
    throw new Error(`Original object missing: ${job.originalKey}`);
  }

  const inputBytes = new Uint8Array(await original.arrayBuffer());
  const outputBytes = toGrayscale(inputBytes);

  const processedKey = `processed/${jobId}.png`;
  await env.IMAGES_BUCKET.put(processedKey, outputBytes, {
    httpMetadata: { contentType: "image/png" }
  });

  await updateJobState(env.DB, jobId, "completed", { processedKey });
  log.info("Job completed", { jobId, processedKey });
}
The function toGrayscale() is a synchronous method that converts the image you provided to grayscale, returning the converted image. When processing each job, the state of the job (as recorded in the D1 table) is updated. You could have many state transitions. I only have four states: “pending”, “in_progress”, “completed”, and “failed”.
4. Poll for state
The upload API returned a 201 Created with a link to /api/jobs/{jobId}. This is the URL that the front end will poll for changes:
api.get("/jobs/:jobId", async (c) => {
  const job = await getJob(c.env.DB, c.req.param("jobId"));

  if (!job || job.userEmail !== c.get("userEmail")) {
    return c.json({ error: "Job not found" }, 404);
  }

  return c.json({ job: toPublicJob(job) });
});
This code should be familiar as it’s how any GET of a SQL table row works. I’ve added authentication so that you can’t ask for jobs you don’t own.
5. UI Code
I added a section to my UI code that allows the user to upload an image. It also displays the state of the job queue and download the modified file when complete.
Final thoughts
Transitioning to an asynchronous REST API is more than just a technical shift; it’s a strategic decision that fundamentally changes how a system handles load and user expectations. In the serverless world, where you are billed by CPU time and subject to strict execution limits, the benefits are even more pronounced. Queues make this whole architecture work.
In serverless environments, you pay for the time the worker is “active”. If your worker is waiting for a slow third-party API response (such as a response from an AI model), you are paying for that idle time when you use a synchronous API. By transitioning to an async API, you decouple the ingest from the processing, allowing the background worker to fire only when it has work to do. This eliminates the cost of maintaining open HTTP connections while doing nothing.
This completes my review of the fundamental building blocks of the Cloudflare Dev Platform. Next time, I’m going to dive into some of the facilities that Cloudflare has built on top of these primitives, starting with workflows.
Leave a comment